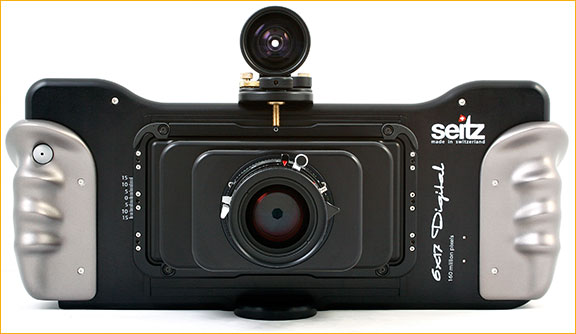
Have you ever seen an impressive panoramic photo and thought, “I wish I had a camera that would take photos like that?” Fortunately, if you have a camera–you can take panoramics! This type of photography is easier than you think. All you need are a consistent series of photos and a process called “stitching”. There are several software programs available that include this tool. I prefer to use Microsoft Digital Image Suite.
Start out by setting up a tripod. A tripod is not required, but it does help in keeping your camera steady. Make sure the camera is mounted level to the ground or horizon and zoom out slightly more than you expect the image to appear. The reason for this is because stitching the photos together will require you to slightly crop the image as a final step.
Begin taking your photos from the left (or the right if you are from Europe!) Your first photo should target the extreme end of the scene you are trying capture. For the remaining photos, the thing to remember is to overlap the previous photo by about 30%. Later on, when you stitch these together, the software will automatically piece the series of images by detecting that overlap.
Have you ever seen an impressive panoramic photo and thought, “I wish I had a camera that would take photos like that?” Fortunately, if you have a camera–you can take panoramics! This type of photography is easier than you think. All you need are a consistent series of photos and a process called “stitching”. There are several software programs available that include this tool. I prefer to use Microsoft Digital Image Suite.
Start out by setting up a tripod. A tripod is not required, but it does help in keeping your camera steady. Make sure the camera is mounted level to the ground or horizon and zoom out slightly more than you expect the image to appear. The reason for this is because stitching the photos together will require you to slightly crop the image as a final step.
Begin taking your photos from the left (or the right if you are from Europe!) Your first photo should target the extreme end of the scene you are trying capture. For the remaining photos, the thing to remember is to overlap the previous photo by about 30%. Later on when you stitch these together, the software will automatically piece the series of images by detecting that overlap.
If creating panoramics is something you would like to try, here are a few hints:
- Make sure not to adjust the zoom while snapping the series of photos.
- Focus each shot exactly the same as the previous shot.
- Use a tripod to make sure your photos are steady, level, and consistent with the horizon.
- Avoid capturing a close moving object such as a person or car.
- Refrain from using a polarized filter. This could affect the color of the sky across your final image.
- Be consistent in the overlap of your photos.
- Crop the final stitched image for a finished look.
